
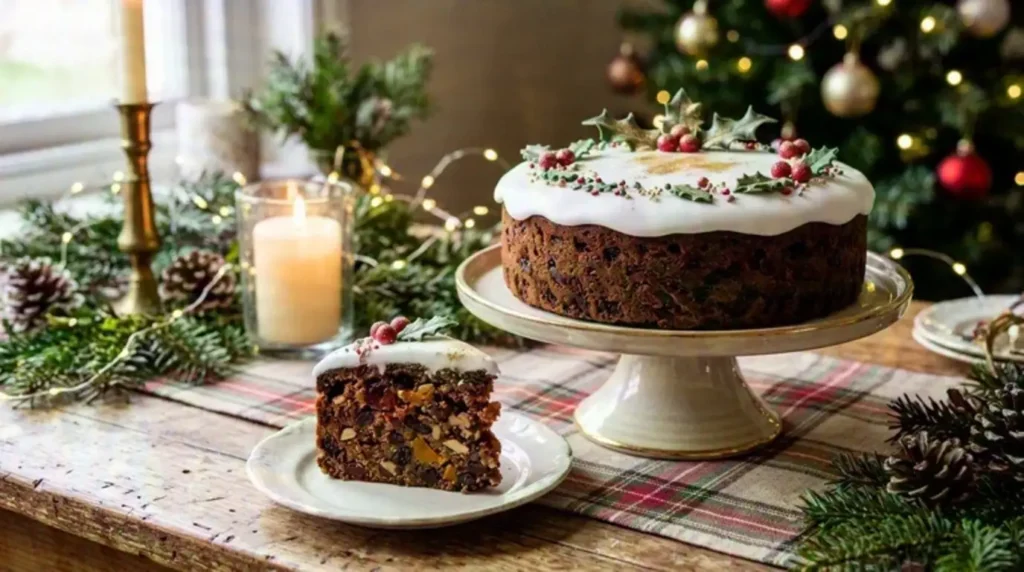
This Traditional Christmas Fruit Cake uses orange-soaked dried fruit and a thick butter batter to create a rich, fruit-filled holiday dessert.
Break apart any raisins sticking together, then check the chopped dates and apricots. The dried fruit spends a night in the refrigerator with orange juice, giving the smaller pieces time to absorb some moisture. The following day, you’ll turn that fruit into a rich cake packed with colorful pieces. There’s no need for a lengthy brandy-feeding routine.
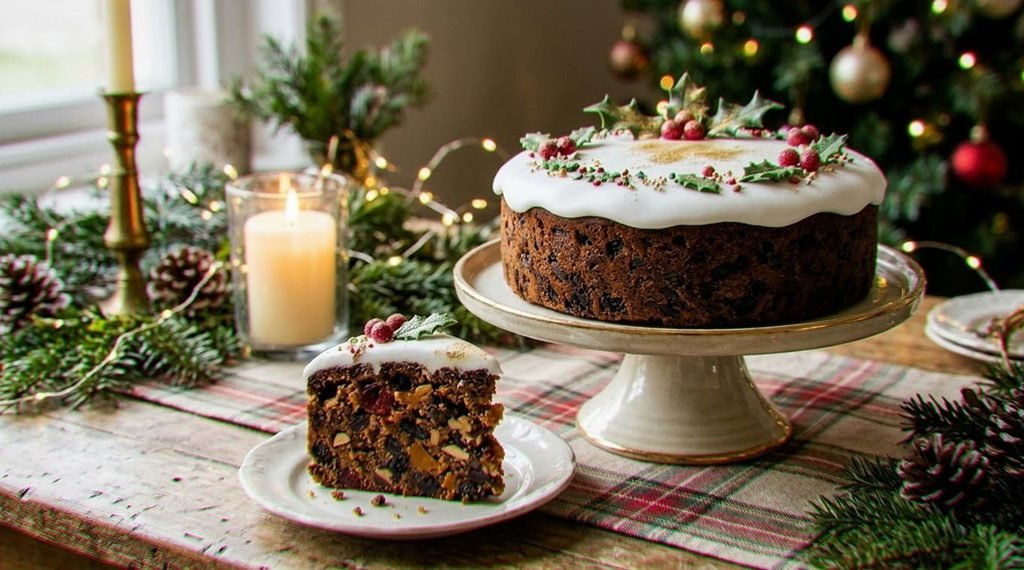
In each slice, the red cherries and golden apricots should stand out against the darker raisins. The flavor should come mainly from the fruit, with dark sugar providing depth and the spices remaining subtle.
The white icing and edible decorations are the easy part of the finish. Leave a little of the dark cake visible around the edges to create a nice contrast with the white icing.
Recipe Details
| Detail | Information |
| Preparation | About 35 minutes |
| Fruit soaking | 8–12 hours |
| Estimated baking | 2–3 hours |
| Oven temperature | 300°F (150°C) |
| Pan | Deep 8-inch round cake pan |
| Portions | Approximately 12 slices |
| Alcohol | None |
Baking Note: Baking times may vary depending on your oven, cake pan, and the moisture in the dried fruit. Use the suggested time as a guide. The cake is done when a skewer inserted near the center comes out without wet batter. A few sticky fruit crumbs are normal.
Table of Contents
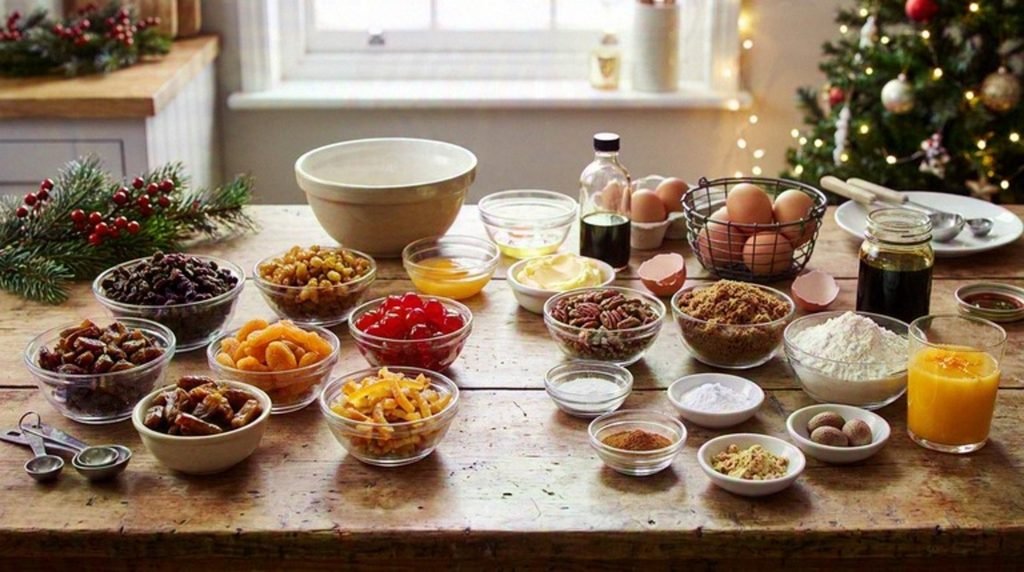
Gather Your Ingredients
Fruit Mixture
- 260 g raisins and golden raisins
- 130 g pitted dates, finely chopped
- 100 g dried apricots, chopped
- 100 g dried or candied cherries
- 60 g candied orange or lemon peel
- 120 ml fresh orange juice
- Zest from one orange
Cake Batter
- 200 g unsalted butter, softened
- 180 g dark brown sugar
- 4 large eggs
- 250 g all-purpose flour
- 1 teaspoon baking powder
- ½ teaspoon fine salt
- 1 teaspoon cinnamon
- ¼ teaspoon ground ginger
- ¼ teaspoon ground nutmeg
- 1 teaspoon vanilla extract
- 1 tablespoon mild molasses, optional
- 60 g chopped pecans, optional
White Icing
- 180 g powdered sugar
- 2–3 tablespoons orange juice
- Edible Christmas cake decorations
Use a scale for the dried fruit. Measuring chopped dates by the cup can give different amounts depending on the size of the pieces.
Make the Cake
1. Prepare the Fruit the Evening Before
Gather the raisins, dates, apricots, cherries, and candied peel in a bowl with enough space to mix them. Scatter the freshly grated orange zest over the fruit and add the measured juice.
Scoop the fruit upward from the bottom several times to moisten any pieces that were sitting underneath. The bowl can now go into the refrigerator, covered, for the next 8–12 hours.
The raisins should appear a little swollen, and a piece of date or apricot should give when pressed gently between your fingers. You should still be able to stir the fruit without crushing it into a jam-like mixture.
Tip the bowl slightly and look for any orange juice gathering along its lowest edge. If some liquid remains, lift out the fruit with a spoon so that the extra juice stays behind.
2. Get the Pan Ready
Set your oven to 300°F (150°C). If you’re baking with a fan-assisted setting, approximately 130°C is the proposed starting temperature.
Find an 8-inch (20 cm) round tin with enough depth for a substantial fruitcake—at least 3 inches (7.5 cm). Cut a parchment circle for the bottom and a separate strip to fit around its inner wall.
Since this is a long bake, consider using two layers of parchment against the sides. Any paper rising above the rim should be trimmed or secured so that loose edges cannot touch the oven’s heating elements.
3. Build the Butter Mixture
Put the butter and brown sugar into a large bowl. Beat until they come together into a soft, creamy mass.
Mix in the vanilla and molasses if using.
Before each addition, break an egg into a small cup. It gives you a chance to remove any stray shell before the egg reaches the batter.
Tip the first egg into the bowl and beat briefly. Carry on in the same way with the other three eggs, adding each one separately.
Don’t expect the mixture to stay perfectly smooth throughout this stage. If you notice the mixture separating, stir in one tablespoon from the flour you’ve measured for the recipe.
4. Combine the Dry Ingredients
Use a whisk to distribute the baking powder, salt, and ground spices throughout the measured flour.
Use a spatula to ease roughly half of the spiced flour into the creamed butter and eggs. Add the remainder and continue until the flour is no longer visible, including at the bottom of the bowl.
At this stage, a flexible spatula is more useful than an electric mixer.
5. Fold in the Fruit
Add the soaked fruit and pecans, if using.
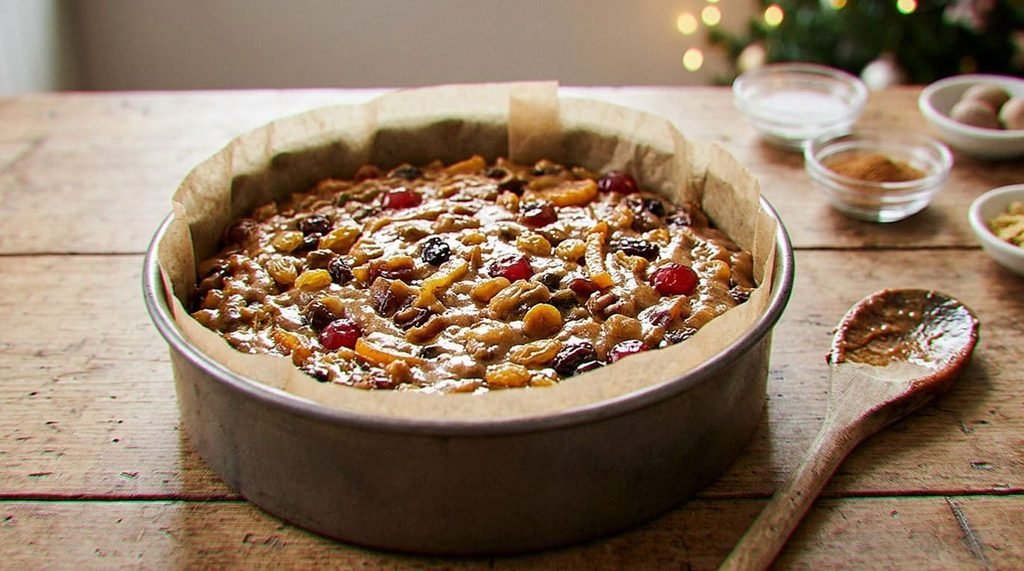
Slide a sturdy spoon right to the base of the bowl, scoop up a portion of batter, and turn it over the fruit. Keep going until the cherries, raisins, and chopped pieces appear throughout the mixture rather than collecting in one area.
It should feel heavy and thick.
Transfer the mixture to the lined pan. Use the back of a spoon to settle the batter against the tin’s sides, then flatten any raised areas on the surface.
Don’t overfill the pan. Any extra mixture can go into a smaller lined tin, with its baking time checked separately.
6. Bake and Check the Center
Set the filled cake tin on the rack just below the center of the oven.
Give the cake about two hours before you begin assessing its progress; the depth of the mixture and your oven’s heat will determine how much longer it needs.
The surface can develop a deep brown color while the center is still soft.
Insert a long skewer close to the center. A paste-like coating on the skewer means the center needs further baking.
Fruit can mark the tester too: a dark smear from a date isn’t necessarily raw batter. When in doubt, try a second spot close to the center.
Check again at intervals of 10–15 minutes.
If the upper crust is browning faster than the center is baking, make a loose foil tent over the cake.
Before taking the tin out of the oven, check another spot near the middle to make sure there is no uncooked batter.
For additional ways to check whether a cake is fully baked, see King Arthur Baking’s guide on how to tell when cake is done.
7. Let It Settle
Put the pan on a cooling rack.
Keep the cake in its tin during the first part of cooling; moving such a heavy, fruit-filled cake while it’s very hot could cause it to break. When it’s firm enough to handle, lift it out carefully and peel away the parchment.
Wait for complete cooling before icing. Heat trapped inside the cake can soften the sugar topping and turn a neat white layer into messy drips.
Finish with White Icing
Sift the powdered sugar into a small mixing bowl, then work in two tablespoons of orange juice.
Mix until no dry powdered sugar remains. Lift a spoonful above the bowl and watch how the icing falls. It should drop slowly from the spoon; if it stays stuck, mix in a little more orange juice until it becomes easier to spread.
Drop the icing in several spots on the cooled cake, then connect those patches using the flat side of a spoon without pressing into the crumb.
Finish with edible holly leaves and red sugar berries arranged slightly off-center, leaving plenty of white icing visible.
Choose decorations sold specifically for food. Real holly berries can cause stomach upset if eaten.
For more information about the risks of natural holly berries, read Poison Control’s holly berry safety guide.
Four Details Worth Remembering
1. Fruit size affects the slices. Cutting across a chunky piece of date can leave a ragged gap where the fruit pulls away from the cake. Smaller pieces are easier to cut cleanly.
2. The batter should not pour. Before adding the soaked fruit, leave behind any unabsorbed orange juice that could thin the mixture.
3. Color alone isn’t a reliable test. Probe two nearby spots with a long skewer, taking care not to confuse sticky fruit with unfinished cake batter.
4. Give the cake time to cool. The fruit adds considerable weight to the soft crumb, making the cake more delicate just after baking. Waiting also makes decorating simpler.
Storage and Serving
Unlike cakes prepared for extended aging with alcohol, this version has not undergone testing to establish how long it remains safe at room temperature. Once completely cool, wrap it securely and keep it refrigerated.
If you’re preparing it well ahead of Christmas, freezing the undecorated cake is a practical alternative. Thaw it in the refrigerator before finishing.
If your cutting board tends to slide, place a slightly damp kitchen towel underneath it before slicing the cake. Dates can leave a sticky coating on the knife, so clear the blade before cutting another slice.
Frequently Asked Questions
Can I Change the Fruit?
Yes. Prefer dried cranberries? Swap them for the cherries, keeping the quantity at 100 g. Chopped apricots can also take the place of part of the dates. Try to keep the overall dried-fruit weight consistent.
Do I Have to Add Pecans?
No. Leave them out if you dislike nuts. For anyone with allergies, remember that the basic cake still contains wheat, milk, and eggs.
Can I Skip the White Icing?
Yes. Leaving off the icing is a good choice if you prefer the cake without an extra layer of sweetness.
Why Did My Fruitcake Crack?
A small crack isn’t necessarily a problem. A dark crust combined with a skewer carrying wet batter means baking should continue, with loose foil over the top if it needs protection.
A Christmas Cake Worth Planning For
The overnight rest takes care of much of the fruit preparation before baking day arrives. Taking care when filling the cake tin and checking the middle with a skewer can help prevent uneven slices and an underbaked center.
At serving time, the slices can show their own colors, whether you add a festive layer of icing or leave the top bare.
Planning a Christmas menu? Our Cheesy Pull-Apart Christmas Tree makes a festive savory snack to serve before dessert.
If you’d like another dessert option for your holiday table, try our Eggless Triple Chocolate Cake with chocolate frosting and ganache.
Leave a Reply