
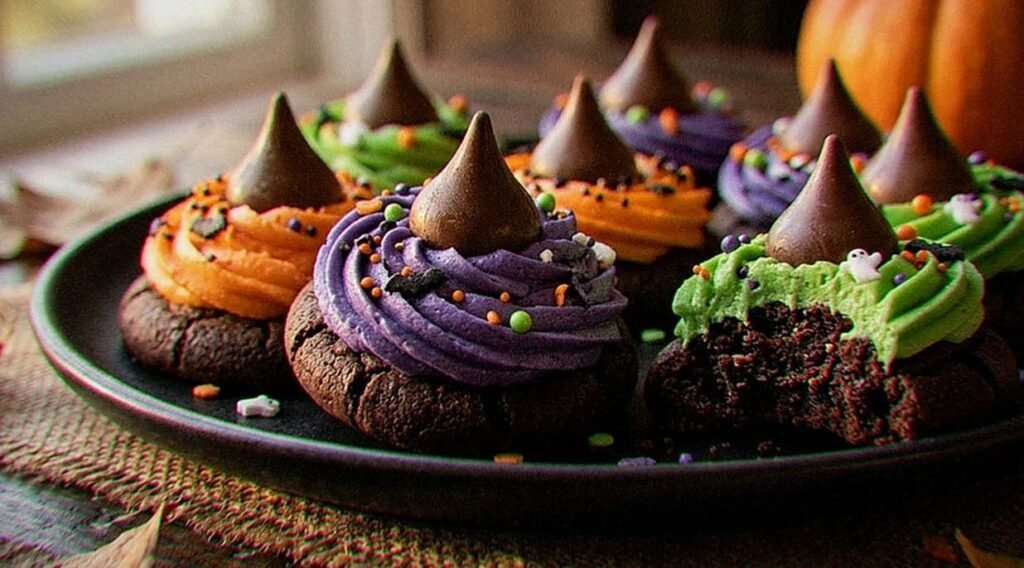
These homemade Witch Hat Cookies turn simple chocolate cookies into festive Halloween treats. Each one has a cocoa cookie base, a colorful buttercream band, and a pointed chocolate candy that gives it the shape of a miniature witch’s hat.
Unlike no-bake versions made with packaged biscuits, this recipe starts with homemade dough. The aim is a tender chocolate cookie with lightly crisp edges and enough structure to hold the decorations.
They’re a fun choice for Halloween dessert tables, family baking activities, and party platters. You can also prepare the cookie bases ahead of time and decorate them closer to serving.
Table of Contents
Witch Hat Cookies at a Glance
| Recipe Detail | Information |
| Active Preparation | Approximately 45–55 minutes, including decorating |
| Dough Chilling | 20 minutes |
| Baking Time | Approximately 18–22 minutes total for two batches (9–11 minutes per batch) |
| Cooling | Approximately 25 minutes |
| Frosting Setting | About 15 minutes |
| Total Estimated Time | 2 hours to 2 hours 15 minutes |
| Yield | Approximately 24 cookies |
| Oven Temperature | 350°F (175°C), conventional |
| Category | Dessert |
| Difficulty | Easy to moderate |
Baking Note: Baking times and yield may vary with your oven and cookie size. Start checking the cookies at the suggested time and use their appearance to judge doneness.
Why Make Homemade Witch Hat Cookies?
Making the chocolate bases from scratch gives you more control over the ingredients, size, and flavor.
The combination of cocoa powder, brown sugar, and granulated sugar creates a chocolate dough with a rich cocoa flavor. The buttercream adds sweetness and provides a base for the pointed candies.
You don’t need special decorating skills, either. A piping bag or a small food-safe bag is enough to create the colorful frosting rings.
For easier party preparation, bake the cookies first and assemble the hats once everything has cooled.
Ingredients for Witch Hat Cookies
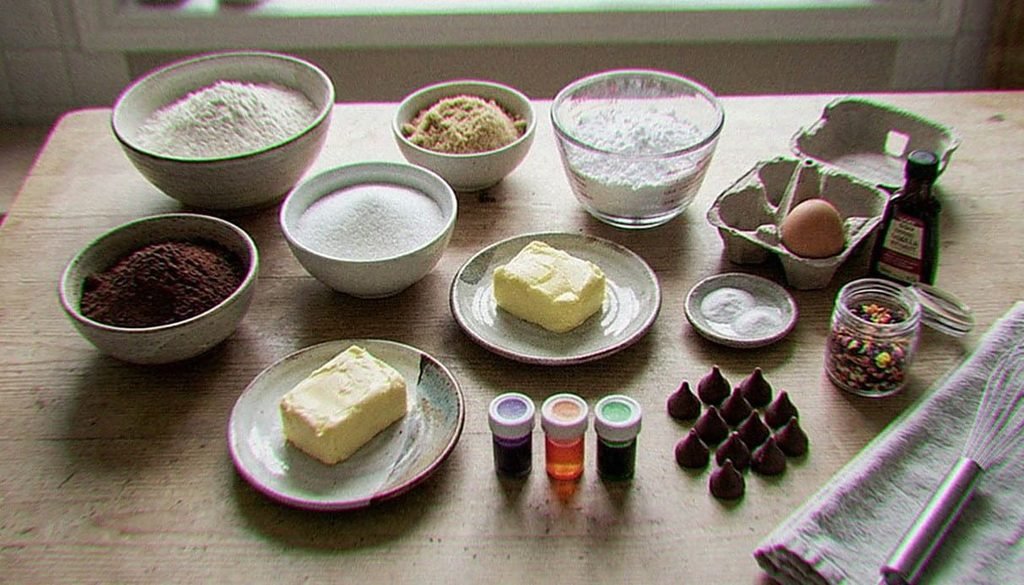
Chocolate Cookie Dough
- 1½ cups (180 g) all-purpose flour
- ⅓ cup (28 g) natural unsweetened cocoa powder
- ½ teaspoon baking soda
- ¼ teaspoon fine salt
- ½ cup (115 g) unsalted butter, softened
- ½ cup (100 g) granulated sugar
- ⅓ cup packed (70 g) light brown sugar
- 1 large egg
- 1 teaspoon vanilla extract
- ¼ cup (50 g) granulated sugar, optional, for rolling
Colored Buttercream
- ½ cup plus 1 tablespoon (125 g) unsalted butter, softened
- 240 g (approximately 2 cups) powdered sugar (icing sugar), measured before sifting
- ¾ teaspoon vanilla extract
- Up to 1 teaspoon milk, only if needed
- Purple, green, and orange gel food coloring
These ingredients provide approximately 365–375 g of buttercream, depending on whether milk is added. This allows for a moderate frosting ring around each of the 24 chocolate candies.
Decorate one cookie first to judge how much frosting you need. For particularly thick hat bands, prepare a little extra.
Decorations
- 24 chocolate kiss-shaped candies, unwrapped
- 2–3 tablespoons Halloween sprinkles
- Optional colored sugar
Ingredient Tips
Cocoa powder: Use natural unsweetened cocoa powder, which is the intended choice for the baking soda in this dough.
Butter: It should be softened but not melted. Very warm butter can make the dough difficult to shape.
Powdered sugar: Sifting removes lumps and helps the buttercream pipe smoothly.
Food coloring: Gel colors give stronger shades without adding much liquid.
Chocolate candies: Hershey’s Kisses work well, but any similarly shaped chocolate with a flat base can be used.
Allergen Information: This recipe contains wheat (gluten), milk, and egg. Some chocolate candies and sprinkles may contain nuts or have nut cross-contact warnings. Always check the packaging when preparing cookies for someone with food allergies.
How to Make Witch Hat Cookies
Step 1: Mix the Dry Ingredients
Place the flour, cocoa powder, baking soda, and salt in a mixing bowl. Use a whisk to break apart any cocoa lumps while blending the dry ingredients into an even mixture.
Set the bowl aside.
Step 2: Cream the Butter and Sugars
Add the softened butter, granulated sugar, and brown sugar to a large mixing bowl.
Beat with an electric mixer for about 2 minutes, until creamy and slightly lighter in color.
Add the egg and vanilla extract. Mix until combined, scraping down the bowl as needed.
The mixture may appear slightly uneven at first, but it should come together when the dry ingredients are added.
Step 3: Prepare the Dough
Add the dry ingredients to the butter mixture in two portions.
Mix on low speed just until no dry flour remains. Avoid overmixing.
The dough should be soft and slightly tacky. If it feels difficult to handle, chilling will help firm it up.
Food Safety: Do not eat the raw dough. It contains uncooked flour and egg. After working with the dough, wash your hands thoroughly and clean any bowls, utensils, or work surfaces that came into contact with the raw ingredients.
Step 4: Chill, Preheat, and Shape
Cover the dough and refrigerate for approximately 20 minutes.
While the dough chills, preheat the oven to 350°F (175°C) and line two baking trays with parchment paper.
Divide the dough into roughly 24 portions, aiming for about 23 g per cookie before baking.
Roll each portion into a ball and arrange the balls on the trays, leaving about 2 inches (5 cm) between them.
For a lightly sweet coating, roll the dough balls in the optional granulated sugar.
If they become too soft while shaping, refrigerate them for another 10 minutes.
Step 5: Bake the Cookies
Place one tray on the middle oven rack and bake for approximately 9–11 minutes.
The cookies are ready to come out when their edges look set and their centers no longer appear wet. They may still feel slightly soft.
Leave them on the baking tray for 5 minutes before transferring them to a wire rack.
Bake the remaining portions, keeping unbaked dough cool between batches.
Allow the cookies to cool completely, approximately 25 minutes, before decorating. Warm cookies can soften the buttercream and chocolate candies.
Step 6: Make the Colored Buttercream
Beat the softened butter in a clean mixing bowl until smooth.
Gradually add the sifted powdered sugar (240 g), mixing on low speed at first.
Pour in the vanilla extract, then continue mixing until the buttercream has a creamy, even consistency.
Check the consistency before adding milk. The frosting should be thick enough to hold a piped ring and support a chocolate candy.
If it’s too stiff to pipe, add milk a few drops at a time, using no more than 1 teaspoon initially.
Divide the buttercream into three bowls and tint each portion purple, green, or orange using gel food coloring.
Mix each color thoroughly. If the frosting becomes too soft, refrigerate it briefly before decorating.
Step 7: Assemble the Witch Hats

Arrange the cooled cookies on a tray.
Transfer the buttercream into piping bags fitted with round tips, or use small food-safe bags with the corners snipped off.
Pipe a thick frosting ring in the center of each cookie, slightly wider than the base of a chocolate candy.
Gently press a chocolate Kiss into the frosting with its pointed end facing upward.
If a chocolate candy leans or slides, refrigerate the buttercream briefly until firmer, then pipe a fresh ring and check the candy’s stability before continuing.
The colored buttercream should remain visible around the candy, forming the hat band.
Repeat with the remaining cookies, alternating colors for a festive appearance.
Step 8: Decorate and Set
While the buttercream is still soft, add a few Halloween sprinkles around each hat band.
Leave the cookies in a cool area for approximately 15 minutes, or refrigerate them briefly until the frosting holds its shape.
Arrange the finished witch hats on a serving platter.
Tips for Witch Hat Cookies That Hold Their Shape
Measure Ingredients Accurately
Use a kitchen scale for the flour whenever possible. Too much flour can make cookies dry, while inconsistent measurements can affect spreading.
For useful conversions, see King Arthur Baking’s Ingredient Weight Chart.
Keep the Dough Cool
Warm dough can spread excessively in the oven. Chilling makes the portions easier to shape and helps maintain a more consistent size.
Avoid Overbaking
Chocolate cookies are difficult to judge by color alone. Begin checking at the lower end of the baking range rather than waiting for the entire surface to darken.
Check the Frosting Consistency
Pipe a small amount of buttercream onto a plate before decorating. It should hold its shape without spreading.
If it’s too soft, chill it briefly. If it’s too stiff, add a few drops of milk.
Decorate One Cookie First
Use the first cookie to check the frosting thickness and chocolate placement.
Once the candy sits securely, repeat the same method for the rest of the batch.
Easy Witch Hat Cookie Variations
Dark Chocolate Witch Hats
Replace the milk chocolate candies with pointed dark chocolate candies for a deeper chocolate flavor.
Orange Chocolate Witch Hats
Add a little finely grated orange zest to the orange-colored buttercream for a citrus accent.
Mini Witch Hat Cookies
Divide the dough into smaller portions and use miniature chocolate candies. Begin checking the cookies earlier, since smaller portions generally require less baking time.
No-Bake Witch Hat Cookies
Replace the homemade cookie bases with firm, round chocolate biscuits for a quicker version.
Use buttercream or melted chocolate to secure the candies.
For a different decorating technique, see Hershey’s Witch’s Hat Cookies, which uses ready-made cookies and melted chocolate to secure the candies before adding decorative icing.
Common Witch Hat Cookie Problems and Solutions
| Problem | Likely Cause | Solution |
| Cookies spread too much | Dough too warm | Chill the shaped portions longer |
| Cookies are dry | Too much flour or overbaking | Measure accurately and shorten baking if necessary |
| Buttercream is runny | Warm butter or excess milk | Chill briefly or add a little sifted powdered sugar |
| Chocolate candies slide | Frosting too soft | Firm up the buttercream before assembling |
| Cookies break when moved | They’re still hot | Allow them to rest on the baking tray |
| Frosting colors are pale | Too little gel coloring | Add small amounts gradually |
Can You Make Witch Hat Cookies Ahead of Time?
Yes. Preparing the components separately makes party planning easier.
Bake the chocolate cookie bases ahead of time and allow them to cool completely before storing them in an airtight container.
Refrigerate the buttercream in a covered, airtight container for up to 3 days. Before decorating, allow it to soften slightly, then beat briefly until smooth and pipeable.
For the neatest appearance, assemble the witch hats on the day you plan to serve them.
How to Store Witch Hat Cookies
Store decorated cookies in a single layer in an airtight container in the refrigerator at 40°F (4°C) or below. For best quality, enjoy them within 4 days. Let the cookies sit at room temperature for about 15 minutes before serving so the buttercream can soften slightly.
To freeze the undecorated cookie bases, arrange them in a freezer-safe container with parchment paper between layers. Freeze for up to 2 months for best quality. Thaw the cookies while covered to limit condensation, then decorate them with fresh buttercream and chocolate candies.
Serving Ideas for Halloween Parties
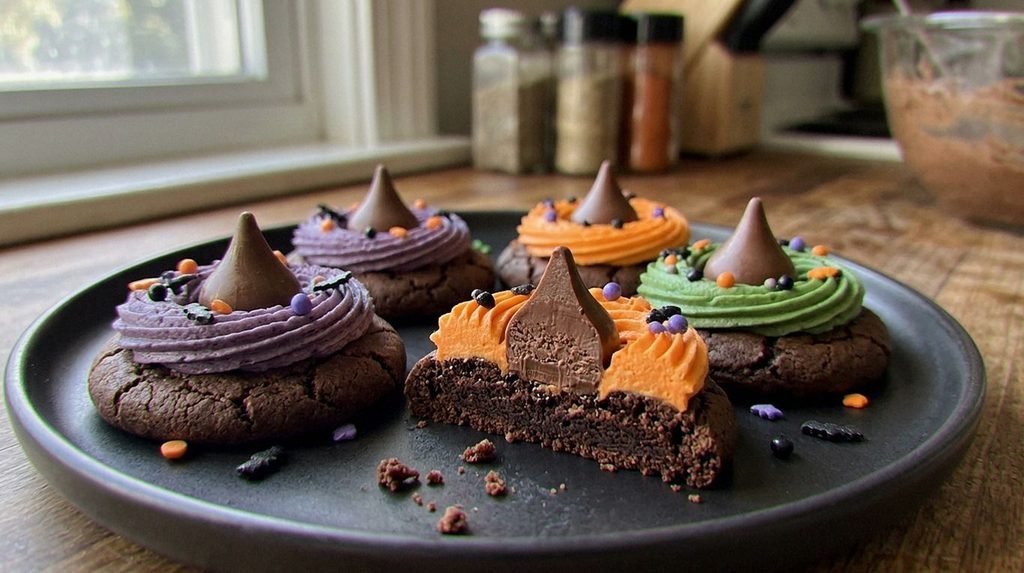
Arrange the cookies on a dark serving tray to highlight the purple, green, and orange decorations.
You can alternate the colors in rows or group them around a Halloween centerpiece.
For a dessert table with different chocolate treats, pair them with our Halloween Ghost Brownies. Their white ghost decorations make a fun contrast with the colorful witch hats.
Another option is our Eggless Triple Chocolate Cake, especially when you’re serving a larger gathering.
If children are helping, supervise the decorating and choose candies and sprinkles appropriate for their age. Keep raw dough away from children.
Frequently Asked Questions
Can I Make Witch Hat Cookies Without Hershey’s Kisses?
Yes. Any similarly shaped chocolate candy with a flat base can work. Choose one that sits securely on the buttercream.
Do I Need a Piping Bag?
No. A small food-safe bag with a corner snipped off can create a frosting ring, although a piping tip gives a neater finish.
Can I Use Store-Bought Frosting?
Yes, as long as it’s thick enough to support the chocolate candies. Follow the product’s storage instructions.
Can I Make Witch Hat Cookies Without Food Coloring?
Absolutely. Leave the buttercream its natural cream color, or add a little cocoa powder for a chocolate version.
How Do I Know When the Cookies Are Baked?
Look for firm-looking edges and centers that no longer appear wet. Allow the cookies to rest on the baking tray before moving them.
How Many Cookies Does This Recipe Make?
Approximately 24 cookies when the dough is divided into portions of around 23 g each before baking.
Final Thoughts
Homemade Witch Hat Cookies combine a chocolate cookie base with playful Halloween decorations. The colorful buttercream bands and pointed chocolate candies create a recognizable witch’s hat without complicated decorating techniques.
The most useful things to remember are to chill the dough before baking, let the cookies cool fully, and use buttercream that’s firm enough to support the pointed chocolates.
Whether you’re preparing a Halloween party platter or decorating with family, these little chocolate hats can bring a festive touch to your dessert table.
Leave a Reply