
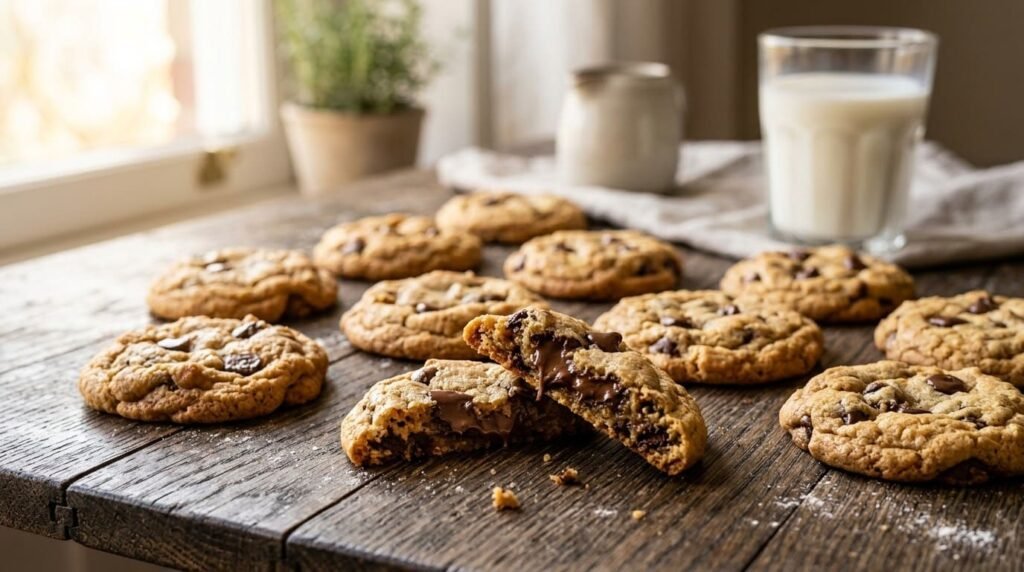
If you want a straightforward gluten-free treat without hunting down hard-to-find pantry items, this classic chocolate chip cookie is your perfect starting point. The dough is simple to prepare and rests in the fridge for a few minutes before baking, giving you cookies with tender centers and slightly crunchy edges.
The key is using a gluten-free flour blend designed for baking and paying attention to the small details that affect texture.
Table of Contents
Ingredients
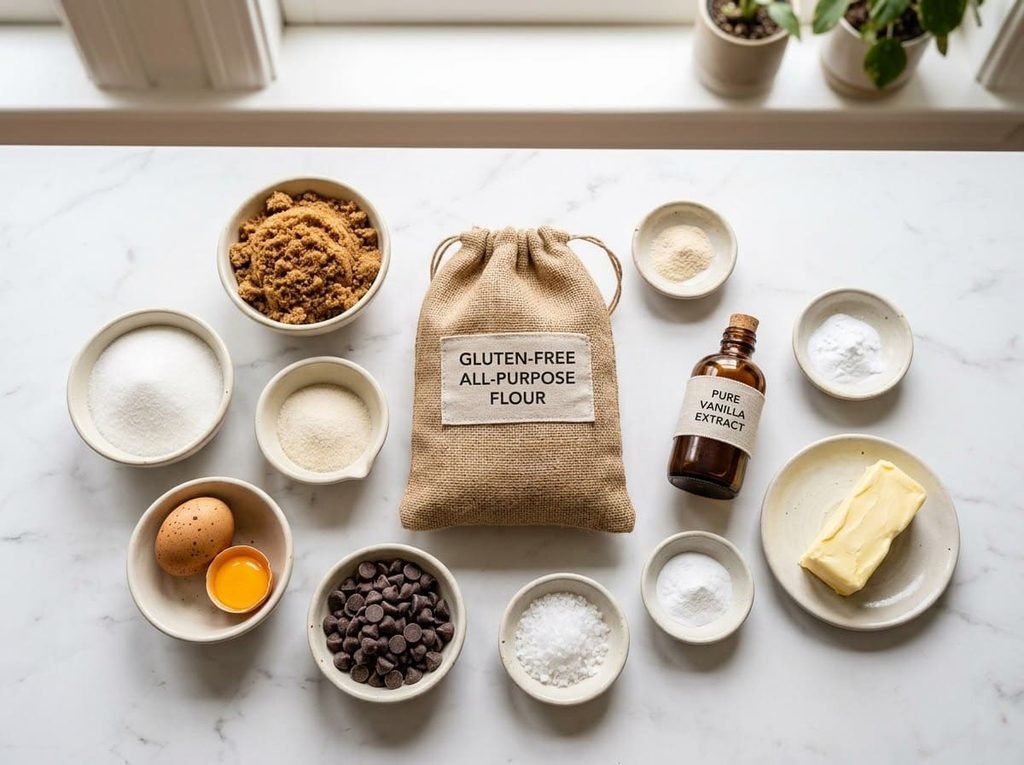
The ingredient lineup stays simple and relies mostly on basic baking staples.
- 1 ½ cups gluten-free all-purpose flour — Choose a baking blend designed to replace regular flour in equal amounts. If your blend already contains xanthan gum, you usually don’t need to add more. If it doesn’t, check the package directions for the recommended amount.
- 1 teaspoon baking soda
- ½ teaspoon fine sea salt
- ½ cup unsalted butter, softened — You can use a suitable dairy-free butter alternative if needed.
- ¾ cup packed brown sugar
- ¼ cup granulated sugar
- 1 large egg + 1 egg yolk — The extra yolk helps give the cookies a soft, rich texture.
- 2 teaspoons vanilla extract
- Real chocolate chips: 1 full cup (semi-sweet)
- Flaky sea salt (optional) — For finishing.
Simple Substitutions
- Egg Substitute: Skipping eggs? Mix 1 tablespoon of finely ground flax with 3 tablespoons of water and give it a few minutes to set into a binder. Just note that without actual egg yolk, the centers turn out softer and less fudgy.
- Dairy-Free: Replace regular butter with a plant-based baking butter designed for high-heat baking.
- Flour Choice: Reach for a balanced 1-to-1 measure-for-measure blend. Avoid using almond or coconut flour on its own as a direct replacement. These flours behave differently from all-purpose gluten-free blends, so the cookies may turn out with a different texture.
- If you’re stocking your kitchen for gluten-free baking, check out our gluten-free pantry guide for a helpful overview of essential ingredients and pantry staples.
Timing
Plan on about 35 to 37 minutes from start to finish:
- Prep Time: 10 minutes
- Chill Time: 15 minutes
- Bake Time: 10–12 minutes
- Total Time: 35–37 minutes
Chilling the dough for 15 minutes helps it firm up before baking, which can reduce spreading and help the cookies keep a thicker shape.
Step-by-Step Instructions
Step 1: Prepare the Oven
Set your oven rack to the middle position and heat to 350°F (175°C), then cover a rimmed baking pan with a sheet of baking paper. For convection ovens, check your oven manual for the recommended baking temperature.
Step 2: Mix the Dry Ingredients
Add the gluten-free flour, baking soda, and salt to a medium bowl. Aerate and incorporate the dry ingredients using a wire whisk. This helps distribute the baking soda and salt evenly throughout the mixture.
Baker’s Tip: Measuring flour by weight with a digital scale helps prevent adding too much flour. If you’re measuring with cups, spoon the flour into the measuring cup without packing it down, then level the surface with a straight-edged knife.
Step 3: Cream the Butter and Sugars
Place the softened butter in a large bowl, then add both the brown sugar and granulated white sugar. Beat for about 2 minutes, or until the mixture looks creamy and well combined.
Step 4: Add the Egg and Vanilla
Crack in the egg, add the extra yolk and vanilla, then stir until everything is blended into a smooth mixture. Scrape the bowl with a spatula to make sure all the ingredients are evenly mixed into the dough.
Step 5: Add the Dry Ingredients
Pour the dry flour mixture into the wet base in two or three stages, folding gently as you go. Mix until no dry flour remains and the mixture comes together into a soft cookie dough. Avoid over-mixing once the dough forms, then fold in the chocolate chips with a spatula.
Step 6: Chill the Dough
Place the dough in the refrigerator for 15 minutes, keeping the bowl covered. Don’t skip this step — chilling improves dough consistency, making it simpler to portion and shape.
Step 7: Scoop and Bake
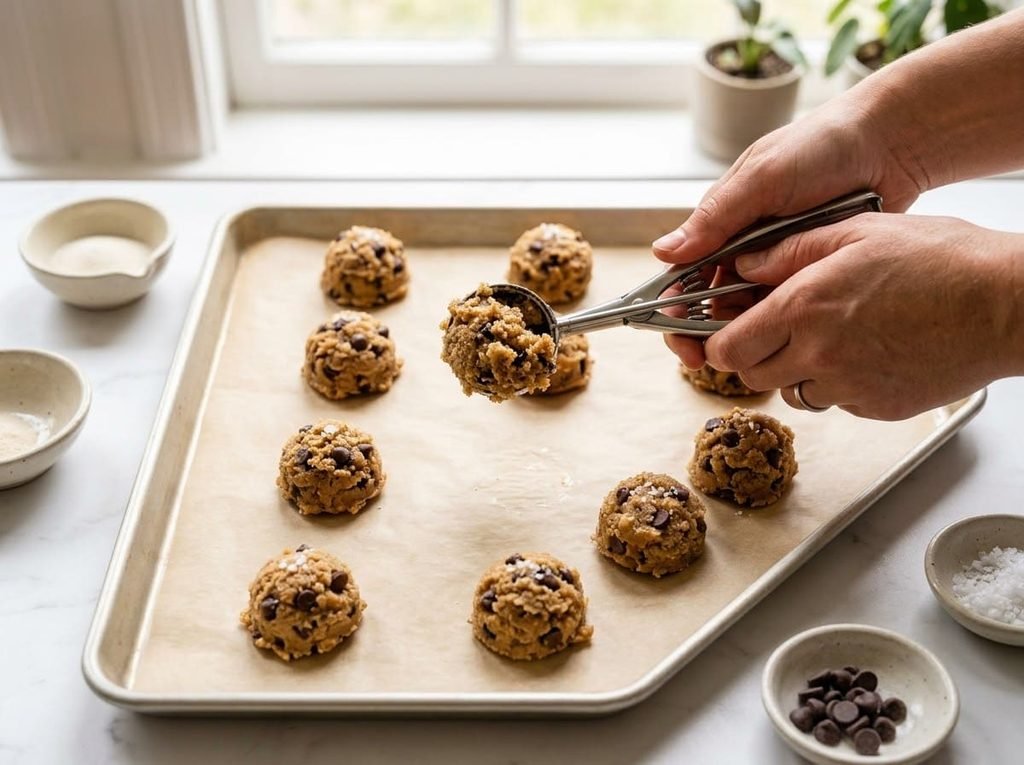
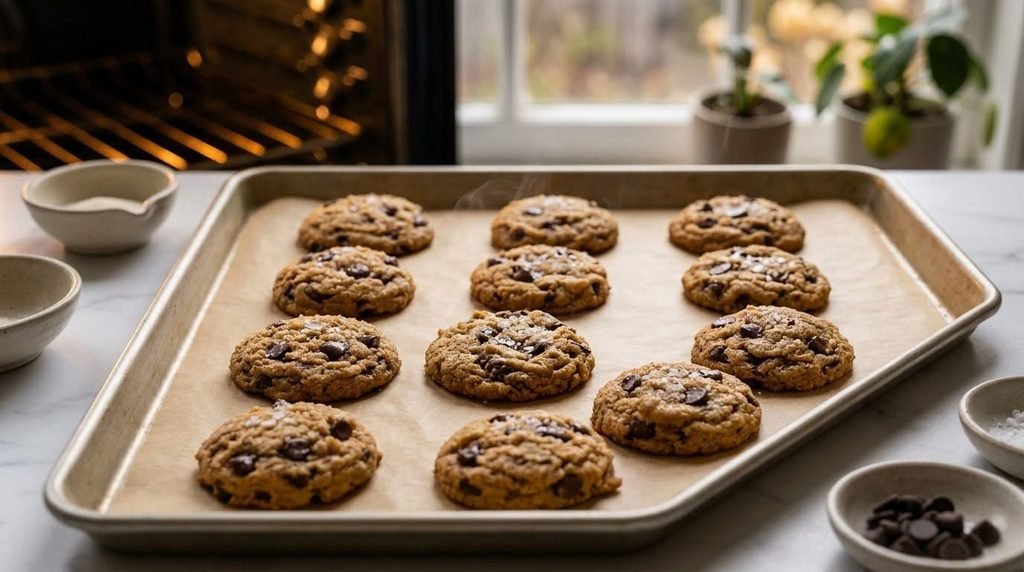
Divide the cold dough into portions of about 2 tablespoons each, then gently shape them into round balls. Arrange on your lined baking tray, keeping roughly 2 inches between them. Bake the cookies for 10–12 minutes, removing them when the edges begin to brown and the middle still looks slightly underdone.
Step 8: Cool and Finish
Leave the freshly baked cookies on the tray for approximately 5 minutes before carefully transferring them to a wire rack. If using flaky sea salt, sprinkle a small amount over the cookies while warm.
Nutritional Information

Recipe Yield: 12 cookies
Serving Size: 1 cookie
The nutritional information below is an estimate per cookie. Actual values may vary depending on the gluten-free flour blend, chocolate chips, and other ingredients used.
- Calories: Approximately 282 kcal
- Total Fat: Approximately 12.6 g
- Saturated Fat: Approximately 7.5 g
- Carbohydrates: Approximately 41.4 g
- Dietary Fiber: Approximately 1.8 g
- Total Sugars: Approximately 24.6 g
- Protein: Approximately 2.5 g
- Sodium: Approximately 214 mg
The nutritional values provided are approximate and may differ slightly depending on the specific gluten-free flour blend, butter, and chocolate chips used in your recipe.
Easy Gluten Free Chocolate Chip Cookies
These easy gluten-free chocolate chip cookies are soft in the center, lightly crisp around the edges, and filled with chocolate chips.
- 1 ½ cups gluten-free all-purpose flour
- 1 teaspoon baking soda
- ½ teaspoon fine sea salt
- ½ cup unsalted butter (softened)
- ¾ cup packed brown sugar
- ¼ cup granulated sugar
- 1 large egg
- 1 egg yolk
- 2 teaspoons vanilla extract
- 1 cup semi-sweet chocolate chips
- Flaky sea salt (optional)
Preheat the oven to 350°F (175°C) and line a baking sheet with parchment paper.
In a medium bowl, whisk together the gluten-free flour, baking soda, and salt.
In a large bowl, beat the softened butter, brown sugar, and granulated sugar until smooth and creamy.
Add the egg, egg yolk, and vanilla extract. Mix until well combined.
Gradually add the dry ingredients to the wet ingredients and mix until a soft dough forms. Fold in the chocolate chips.
Chill the dough in the refrigerator for 15 minutes.
Scoop the dough into 12 equal portions and place them on the prepared baking sheet, leaving space between each cookie.
Bake for 10–12 minutes, until the edges are lightly golden and the centers still look slightly soft.
Let the cookies rest on the baking sheet for 5 minutes, then transfer them to a wire rack to cool. Sprinkle with flaky sea salt if desired.
For the best results, use a gluten-free all-purpose flour blend designed for a 1:1 substitution. Let the cookies cool for 5 minutes on the baking sheet before transferring them to a wire rack. Check that your chocolate chips and other ingredients are labeled gluten-free if needed.
Optional Recipe Adjustments
- Reduce the Sugar: You can experiment with slightly less sugar, but keep in mind it may affect cookie spread and browning.
- Boost the Protein: Try mixing a small amount of unflavored protein powder into the dry ingredients. Start with a little, as adding too much may change the cookies’ texture.
- Reduce Butter: Replace part of the butter with unsweetened applesauce for a lower-fat, cake-like texture.
Serving Suggestions
- Enjoy warm straight from the oven or pair with vanilla ice cream.
- Arrange on a dessert board with fresh strawberries or dark chocolate squares.
- Always check labels and avoid cross-contact with shared kitchen tools if baking for someone with celiac disease.
Common Mistakes to Avoid
- Using the Wrong Flour: Stick to a 1-to-1 gluten-free baking blend.
- Adding Too Much Xanthan Gum: Check the ingredients in your gluten-free flour blend before adding extra xanthan gum. Too much can make your cookies dense or gummy.
- Not Chilling the Dough: Refrigerating the cookie dough for 15 minutes helps it hold its shape during baking. Skipping this step may leave you with cookies that spread too much.
- Moving Cookies Too Soon: Let them rest on the tray for 5 minutes to firm up before moving.
- Expecting a Lower-Calorie Treat: Gluten-free doesn’t translate to diet food; butter and sugars still bring standard dessert calories.
Storage & Freezing
- Room Temperature: Store cooled cookies in an airtight container for 2–3 days.
- Freezer (Baked): Freeze cooled cookies in a freezer-safe container for up to 3 months.
- Freezing Unbaked Dough: Portion the dough onto a pan, let the balls harden in the freezer, then store them in a zip-top freezer bag for quick single-serve baking. Bake straight from frozen, adding 2–3 extra minutes to the baking time.
Frequently Asked Questions
What is the best gluten-free flour for these cookies?
A 1-to-1 baking blend that contains xanthan gum is the easiest starting point for beginners.
Why are my cookies spreading too much?
Overly soft butter, skipping the chilling step, or flour blend differences can cause excess spreading.
Can I make these cookies without eggs?
Skipping eggs? Mix 1 tablespoon of finely ground flax with 3 tablespoons of water and give it a few minutes to set into a binder. Just note that without actual egg yolk, the centers turn out softer and less fudgy.
How can I tell when they are ready to pull out?
Watch for light bronze borders while the middles still look slightly soft. They lock in their final chewiness during those 5 minutes resting on the warm pan.
Can I use regular wheat flour instead?
While regular wheat flour will function physically in baking, this recipe was engineered specifically for a 1-to-1 gluten-free flour blend. Switching to wheat flour changes moisture absorption and structural outcome, resulting in a different texture. More importantly, using wheat flour eliminates the gluten-free safety of the recipe for those with celiac disease or gluten sensitivity.
Conclusion
Making a tasty batch of gluten-free cookies doesn’t require years of baking experience. Start with a reliable gluten-free baking blend, measure your ingredients carefully, chill the dough briefly, and allow the cookies enough time to set after baking.
These chocolate chip cookies are simple enough for beginners while giving you a familiar homemade cookie experience.
Looking for a different sweet treat? Browse our collection of desserts made without flour for more inspiration. You can also explore our gluten-free pantry guide for more helpful baking ideas.
Leave a Reply